Instruction Manual: Setting Page in Bookingor
Step 1: Log into WordPress Admin Panel
- Open your web browser and go to your WordPress site.
- Log in using your administrator credentials.
Step 2: Access the Bookingor Plugin
- In the WordPress Dashboard, locate and click on the Bookingor plugin in the sidebar menu.
Step 3: Navigate to the Settings Menu
- Within the Bookingor plugin, find the "Settings" submenu and click on it.
Step 4: Access Basic Tab
- Once on the Settings page, navigate to the Basic Tab to set the default configurations for your services.
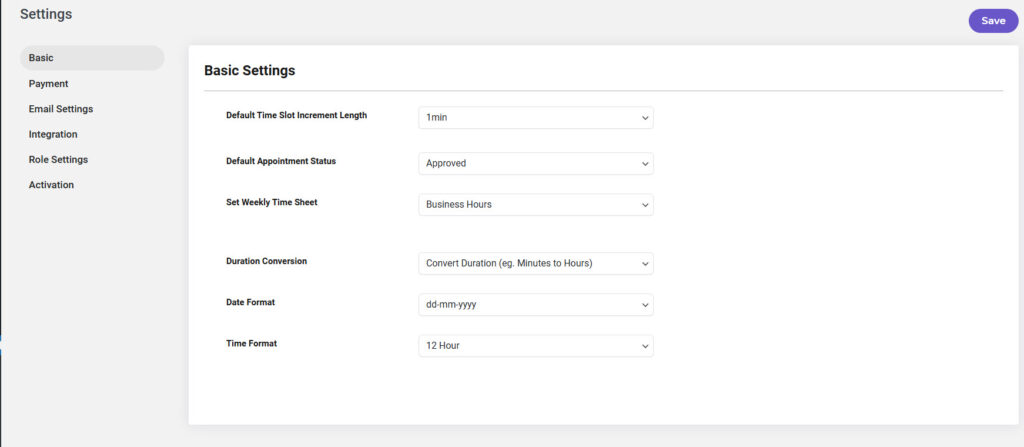
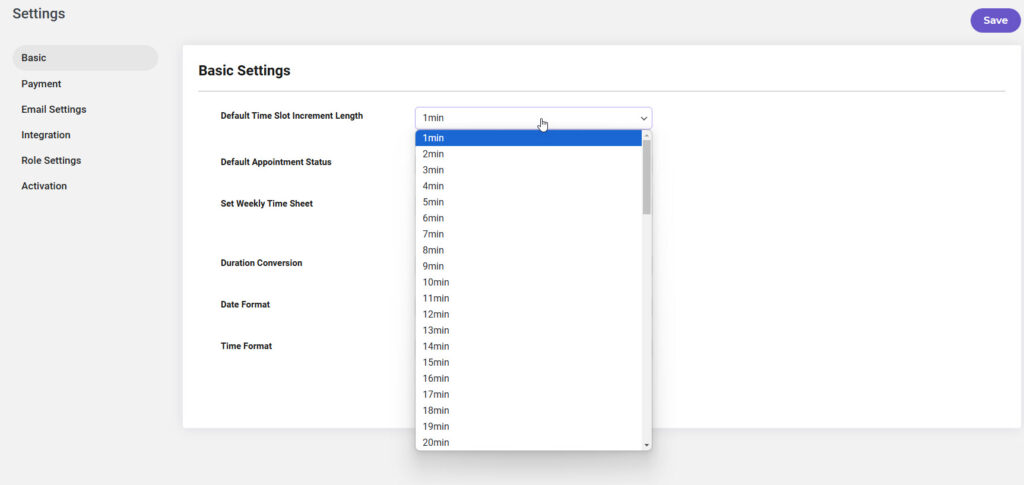
Configure Default Time Slot Increment Length
- Find the Default Time Slot Increment Length field.
- Enter your desired time slot increment (e.g., 15 minutes, 30 minutes). This setting determines how appointment slots will be divided.
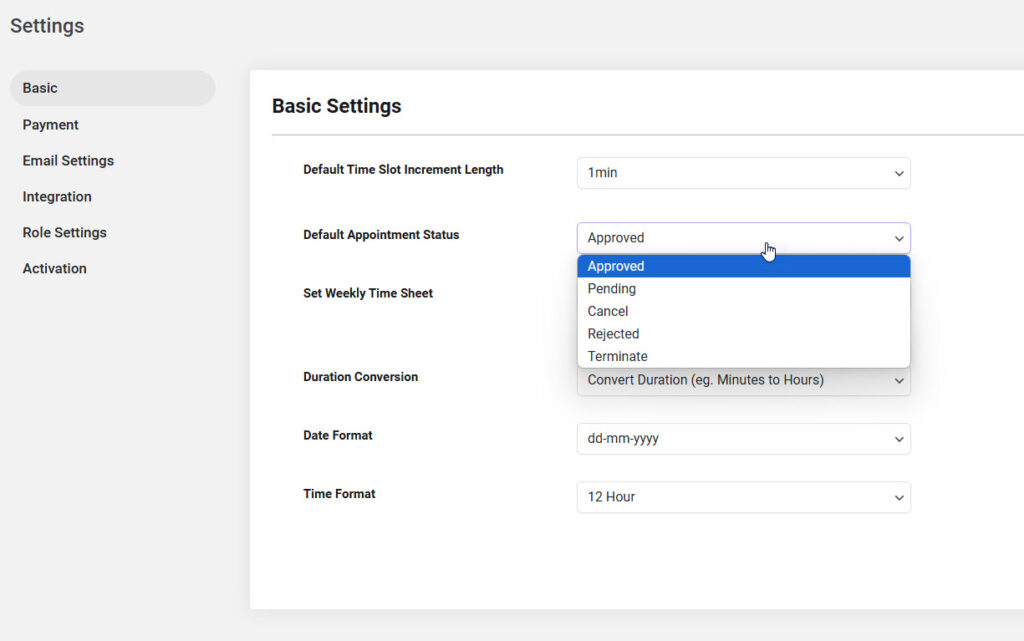
Set Default Appointment Status
- Locate the Default Appointment Status option.
- Set it to Approved. This means that new appointments will automatically be approved upon booking.
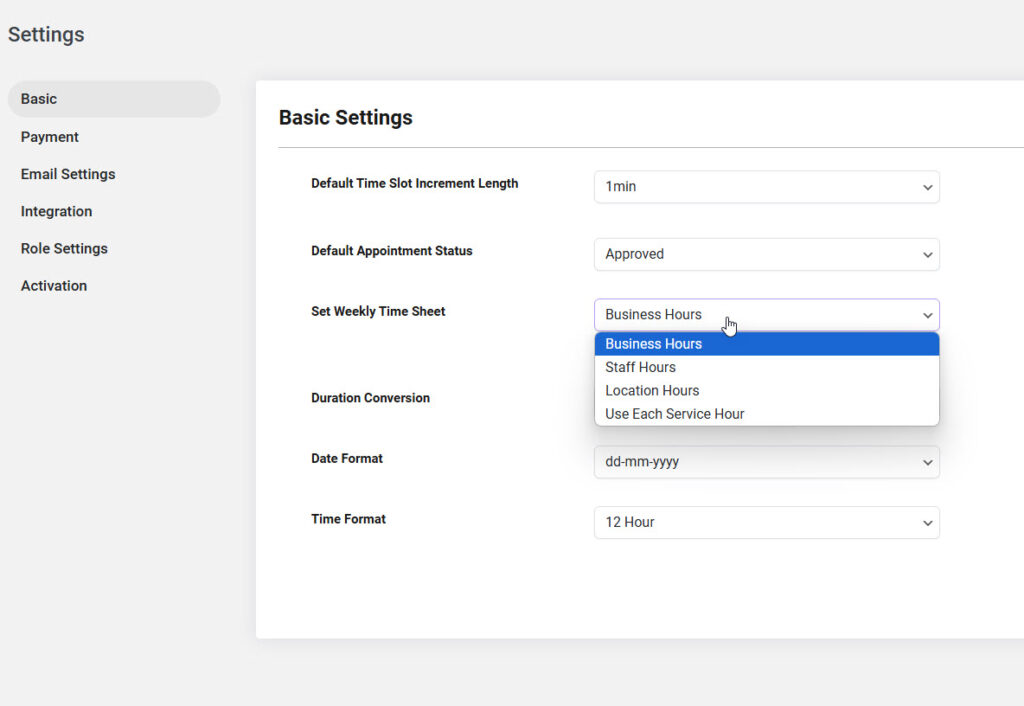
Set Weekly Time Sheet
- Find the Set Weekly Time Sheet section.
- Specify the working hours for your services. This may include days and time frames when services are available.
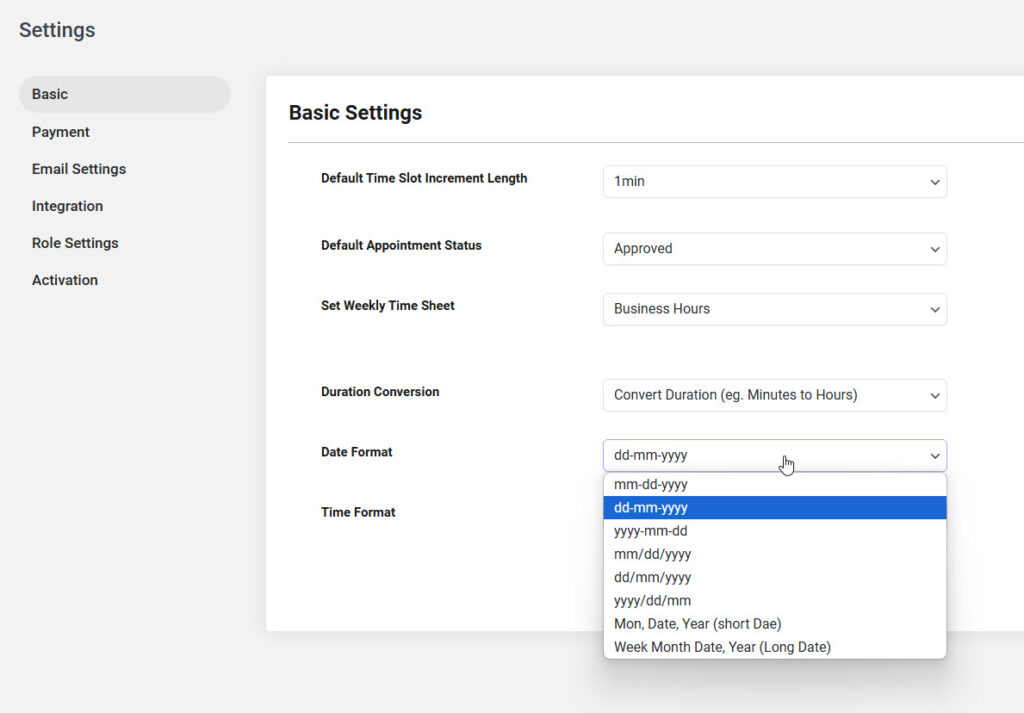
Choose Date Format
- Locate the Date Format dropdown menu.
- Select your preferred date format from the available options (e.g., MM/DD/YYYY, DD/MM/YYYY).
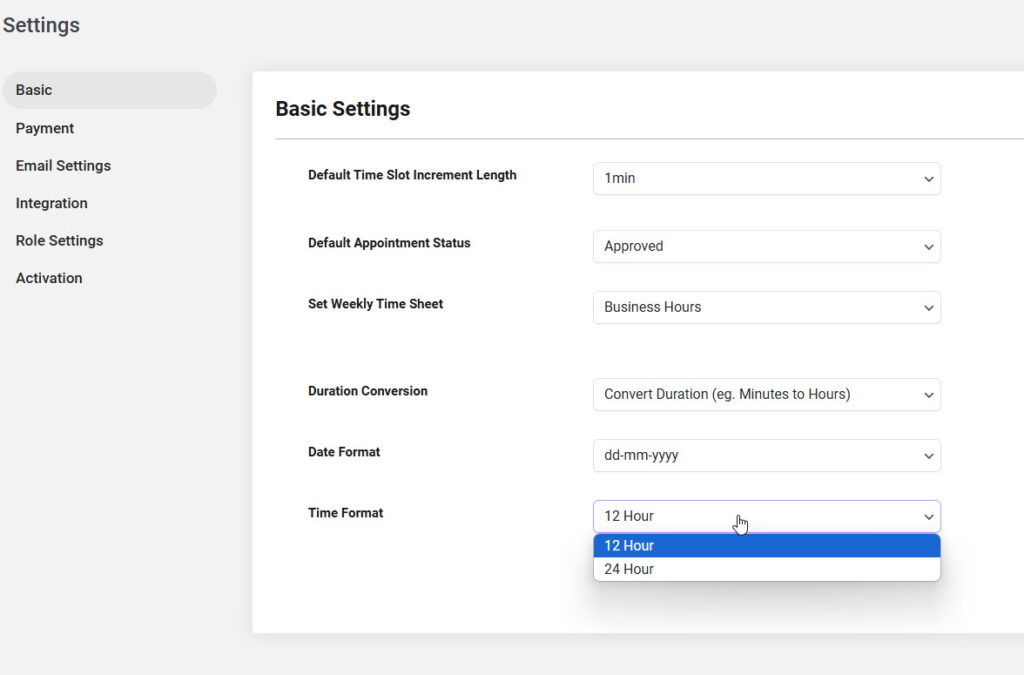
Choose Time Format
- Find the Time Format dropdown menu.
- Select your preferred time format (e.g., 12-hour format or 24-hour format).
Save Settings
- After configuring all necessary settings, look for the Save Changes button at the bottom of the page.
- Click on it to apply your settings.
Additional Notes:
- Ensure that all settings are accurately configured to provide a seamless experience for your customers and staff.
- Adjust the time slot increment and appointment status according to your business model for optimal scheduling.
This guide will assist you in setting up the basic configurations in the Bookingor plugin to enhance your service management.


