Instruction Manual: Adding a Subcategory in Bookingor
Step 1: Log into WordPress Admin Panel
- Open your web browser and go to your WordPress site.
- Log in using your administrator credentials.
Step 2: Access Bookingor Plugin
- Once logged in, navigate to the WordPress Dashboard.
- In the sidebar menu, find and click on the Bookingor plugin.
Step 3: Go to Category Management
- Inside the Bookingor section, click on “Category” from the dropdown menu.
Step 4: Add a New Category
- On the Category page, click on the Add New Category button.
Step 5: Fill in the Category Details
- Category Name: Enter the name of the category (e.g., "Massage Therapy", "Hair & Styling").
- Upload Image/Icon: Click the Upload button to upload an icon or image representing the category.
Step 6: Enable Subcategory Option
- In the Add Subcategory section, toggle the switch to Yes. This enables the field to add subcategories.
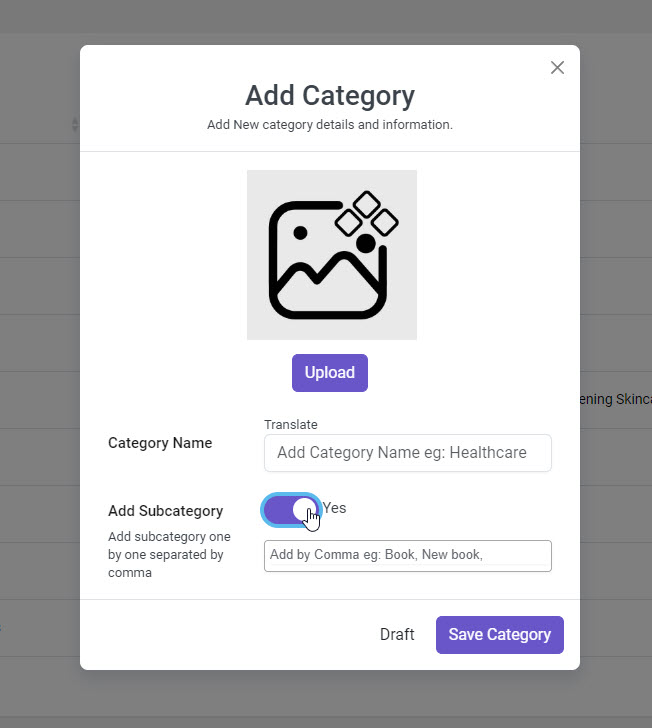
Step 7: Add Subcategories
- In the subcategory input field, type the names of the subcategories you want to add (e.g., "Swedish Massage", "Deep Tissue Massage").
- Separate each subcategory by pressing Enter or typing a comma between them.
Step 8: Save the Category with Subcategories
- Once you have added the category and its subcategories, click on the Save Category button.
- A confirmation message will appear when the category and subcategories are successfully saved.
Step 9 (Optional): Set Category as Draft
- If you are not ready to publish the category and subcategories yet, click the Draft button instead of Save Category. This will allow you to finalize the category later.
Additional Notes:
- You can add unlimited subcategories to each category by separating them with commas or pressing Enter.
- Subcategories will be displayed below the parent category on the front end of your Bookingor system.
This instruction manual guides you through adding subcategories in the Bookingor plugin with ease.


Leave a Reply