Instruction Manual: Setting Special Days in Bookingor
Step 1: Log into WordPress Admin Panel
- Open your web browser and go to your WordPress site.
- Log in using your administrator credentials.
Step 2: Access the Bookingor Plugin
- Once logged in, navigate to the WordPress Dashboard.
- In the sidebar menu, locate and click on the Bookingor plugin.
Step 3: Go to Special Days Section
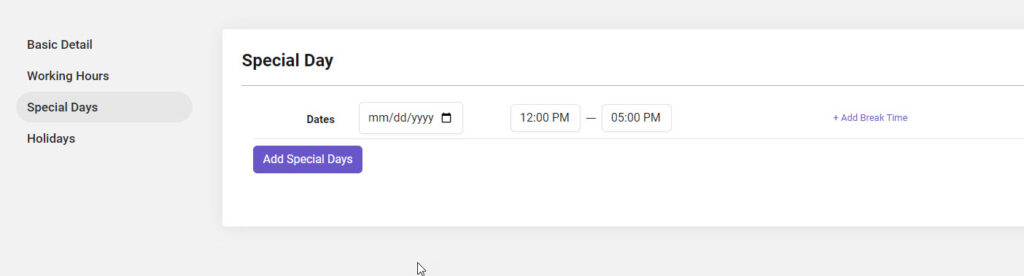
- Within the Bookingor plugin, find and select the "Special Day" tab.
Step 4: Select a Date
- Click on the "Date" field.
- Choose the date for which you want to set special hours from the calendar that appears.
Step 5: Set Start and End Time
- Start Time: Click on the "Start Time" field and select the starting hour for the special day.
- Example: Set it to 9:00 AM.
- End Time: Click on the "End Time" field and select the ending hour for the special day.
- Example: Set it to 5:00 PM.
Step 6: Add Break Time (Optional)
- If you need to set a break time during the special day, click on the "+ Add Break Time" button.
- Specify the Break Start Time and Break End Time.
- Example: Set Break Start Time to 12:00 PM and Break End Time to 1:00 PM.
- You can add multiple breaks by clicking the "+ Add Break Time" button again and repeating the process.
Step 7: Save Special Day Settings
- After entering all the required information, click the "Save" or "Update" button to apply the changes for the special day.
Additional Notes:
- Special Days Usage: Utilize special days to manage unique scheduling needs, such as holidays or special events.
- Visibility: Ensure that special days are communicated to staff and customers to avoid confusion regarding availability.
This guide helps you efficiently set and manage special days within the Bookingor plugin, ensuring a smooth scheduling process for both staff and clients.


Leave a Reply