Instruction Manual: Adding Services in Bookingor
Step 1: Log into WordPress Admin Panel
- Open your web browser and go to your WordPress site.
- Log in using your administrator credentials.
Step 2: Access the Bookingor Plugin
- Once logged in, navigate to the WordPress Dashboard.
- In the sidebar menu, locate and click on the Bookingor plugin.
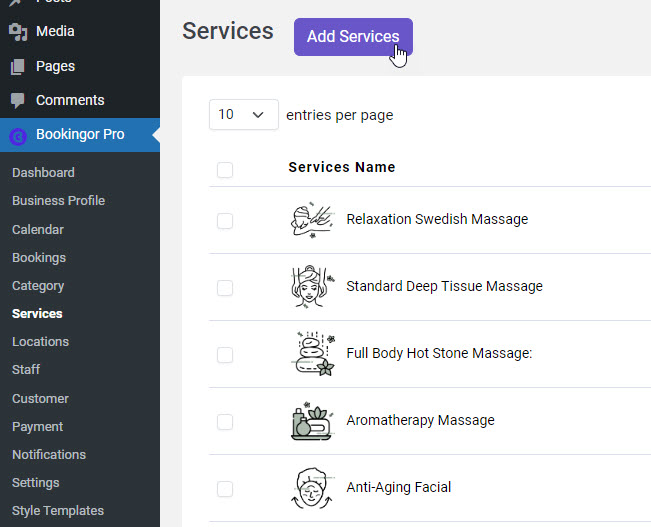
Step 3: Go to Service Management
- Within the Bookingor plugin, find and select the "Services" section.
Step 4: Add a New Service
- Click on the "Add New Service" button, typically located at the top or on the side of the service management page.
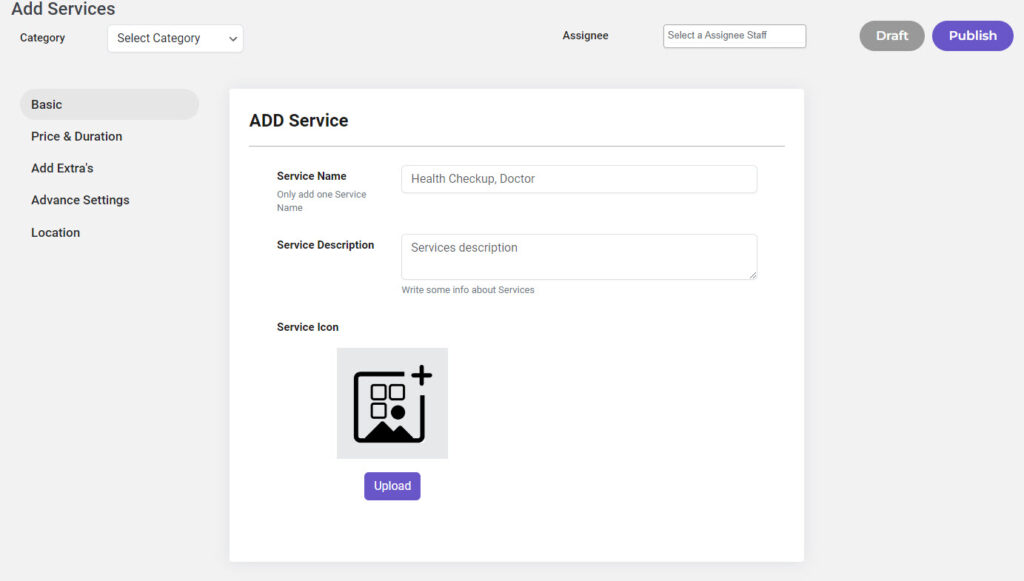
Step 5: Service Window
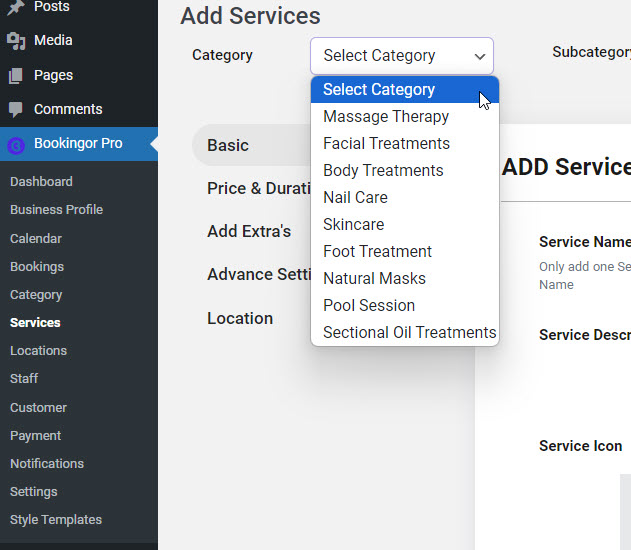
Step 6: Select Category in Services
- In the service form, locate the "Category" dropdown menu under the very top after the Heading
This is where you will select the appropriate category for the service.
Step 7: Select a Category
- Click on the "Category" dropdown to view the list of available categories.
- Scroll through the list and click on the desired category to select it.
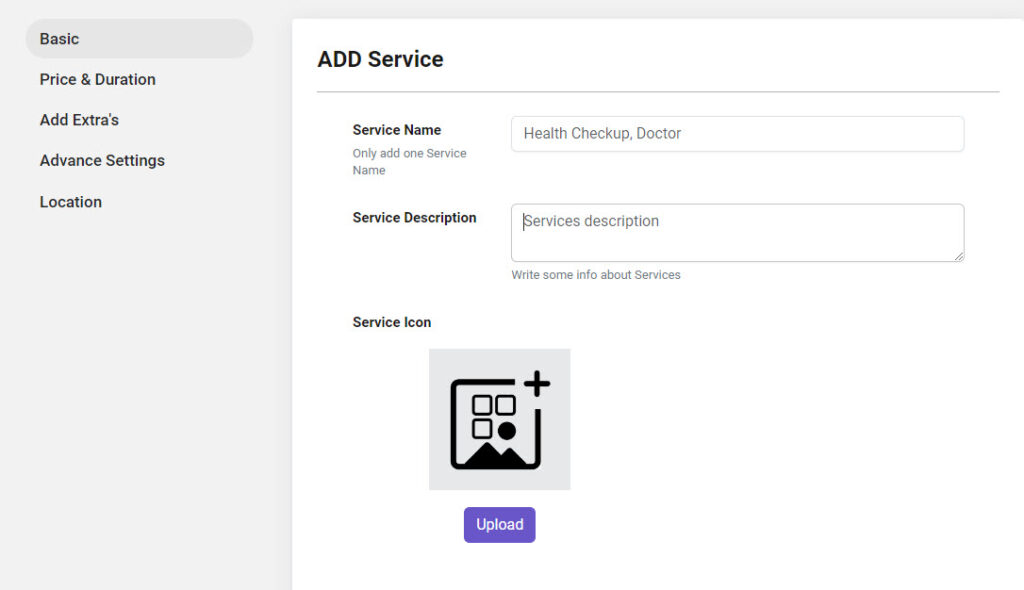
Step 8: Open the Basic Tab
- Once on the service creation, ensure that the "Basic" tab is selected.
This tab contains essential fields such as the Service Name and Service Description.
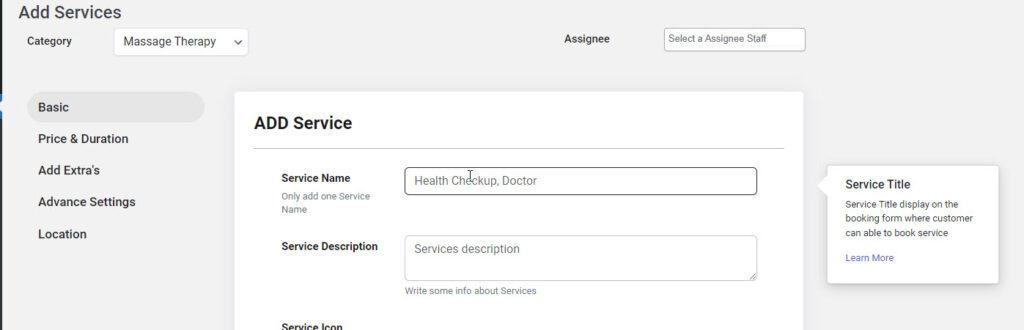
Step 9: Add the Service Name
- In the Service Name field, enter the name of the service you are offering.
Example: "Relaxing Facial," "Deep Tissue Massage," or "Men’s Haircut."
Step 10: Add the Service Description
- In the Service Description field, provide a clear and concise description of the service.
The description should explain what the service entails and any special benefits or procedures.
Example: "A soothing facial designed to hydrate and rejuvenate the skin, using all-natural products."

Step 11: Upload the Service Image (Optional)
- Click on the "Upload" button located below the Service Description field.
- Choose an appropriate image from your computer that represents the service.
Example: For a facial treatment, you might upload an image of a serene spa environment. - After selecting the image, it will be displayed on the page as a visual representation of the service.
Open the Price & Duration Tab
- On the service creation or editing page, click on the "Price & Duration" tab.
Step 13: Enter the Service Cost
- In the Cost field, enter the fixed price for your service.
Example: If the service costs $100, simply enter 100.00 in the provided field. - Ensure the price is entered accurately to reflect the cost of the service being offered.
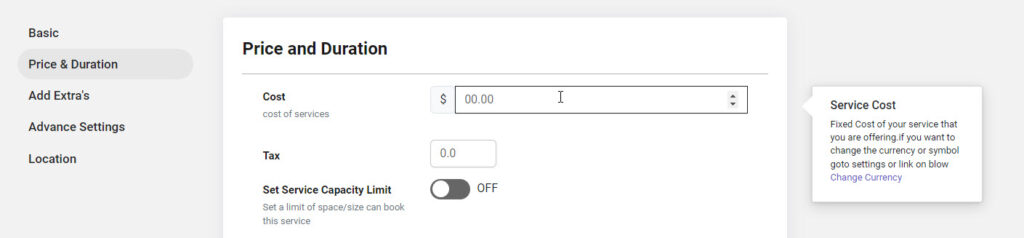
Step 14: Change the Currency (Optional)
- To change the currency symbol displayed, click the "Change Currency" link located in the tooltip on the right side of the screen.
This will redirect you to the Currency Settings page, where you can select your preferred currency symbol.
Note: Bookingor has all the currency available in the world. You can easily switch between currency
Service Tax (Optional)
- You can enter the Cost in the VAT Tax field if you wish to include tax.
This value will be applied to the total cost of the service.
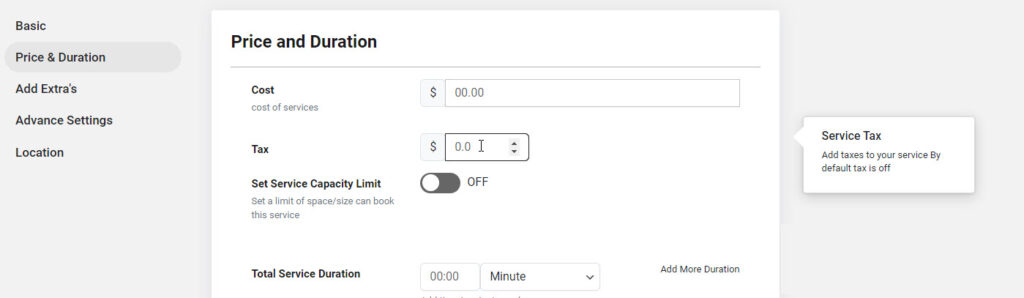
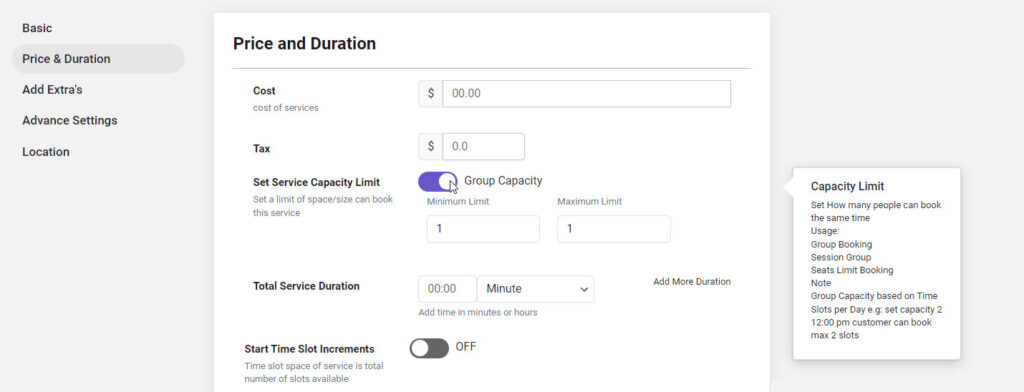
Toggle and Set Service Capacity Limit
- Enable Service Capacity: Toggle the switch for Set Service Capacity Limit to ON.
- Enable Group Capacity (Optional): If you want to allow multiple people to book the service at the same time, toggle the Group Capacity option to ON.
- Set Minimum and Maximum Limits:
- Minimum Limit: Enter the minimum number of people who can book the service.
- Maximum Limit: Enter the maximum number of people who can book the service simultaneously.
- Example: You might set the Minimum Limit to 1 and the Maximum Limit to 10 if the service allows for up to 10 participants at once.
Set the Total Service Duration
- Total Service Duration: In the Total Service Duration field, specify how long the service will take.
- Input the time value (e.g., "30" for 30 minutes).
- Use the dropdown menu next to the time field to select the appropriate unit of time. Options include:
- Minutes
- Hours
- Days
- Weeks
- Example: For a 1-hour massage, enter 1 in the time field and select Hour from the dropdown menu. For a 3-day workshop, enter 3 and select Day.
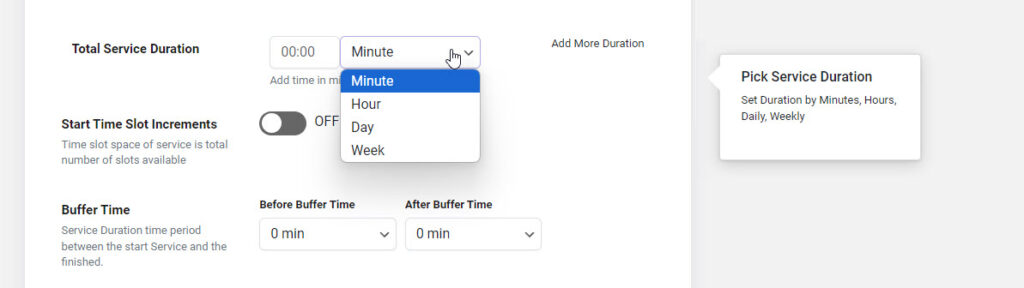
Enable Start Time Slot Increments
- Scroll down to the Start Time Slot Increments section.
- Toggle the switch to ON to activate Start Time Slot Increments.
- Once enabled, you can set the increments in which the service can be booked throughout the day.
Step 6: Configure Time Slot Increments
- After enabling, input the desired time slot increments in minutes.
- Example: If you set the increment to 15 minutes, customers can book the service at intervals such as 10:00 AM, 10:15 AM, 10:30 AM, etc.
- This feature ensures that services can be booked at specific intervals, allowing for structured scheduling.
Set Buffer Time
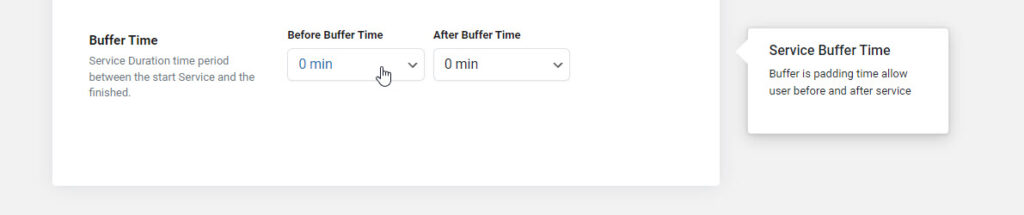
Set Buffer Start Time:
- In the Buffer Start Time field, specify how much time you want before the service begins to ensure preparation.
- Example: If you set 10 minutes, it will automatically block 10 minutes before the service start time in the booking calendar.
Set Buffer End Time:
- In the Buffer End Time field, specify the amount of time needed after the service ends to handle follow-up tasks or cleanup.
- Example: If you set 15 minutes, the system will block off 15 minutes after the service duration ends, preventing back-to-back bookings without a break.


Leave a Reply